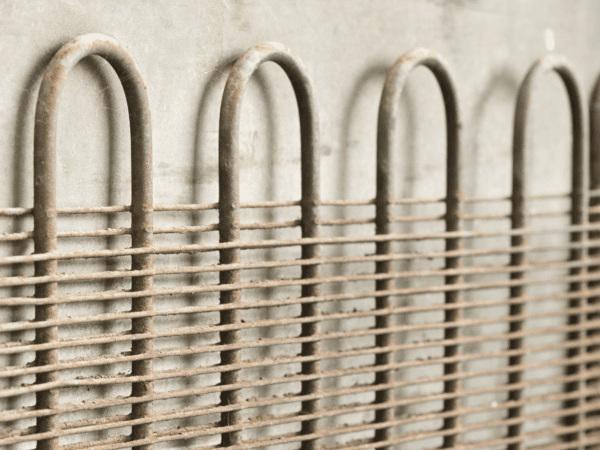
Your fridge uses a part called the condenser coil to work effectively. It pushes heat out to make a cold space for food inside. Regular refrigerator maintenance involves cleaning the condenser coil on the back or the bottom.
Clearing out the accumulated dust and gunk about twice a year will help you keep things cold, use less electricity, and prolong the life of your appliance! What goes into cleaning and maintaining your condenser coil?
What Do You Need To Clean Your Refrigerator Coils?
- A vacuum cleaner
- Brush and/or crevice attachments, or a specialized attachment for coils
- A small, soft brush, e.g. a paintbrush
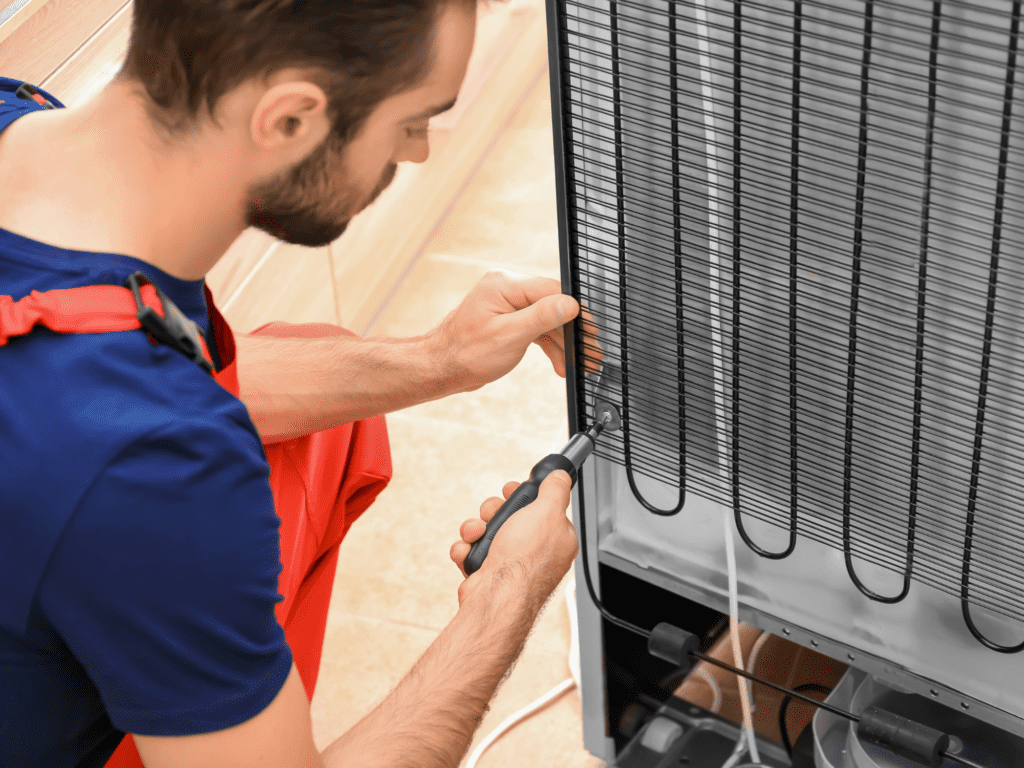
Step 1: Find The Coils
 If the coils are on the back, move your refrigerator away from the wall; it probably has wheels on the bottom, so you should be able to do this with ease (and without damaging your floor). Look for a metal grid attached to the back of the appliance.
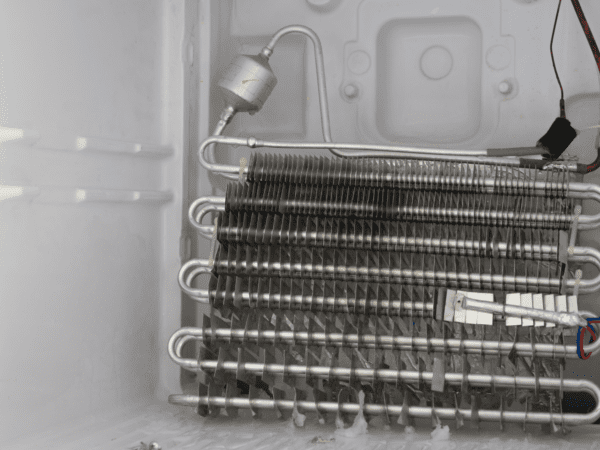
If the coils are below the unit, your fridge will have a grate in front that you can remove. If you’re having trouble finding this part, look at your owner’s manual or one online for more specific information.
Step 2: Unplug Your Fridge
Always disconnect the power source before performing any maintenance on an appliance, including cleaning the coils. Though it’s unlikely that anything will go wrong, the downside to not doing so is electrocution – don’t take the risk.
Don’t worry about ruining what’s in your fridge or freezer. Cleaning the coils shouldn’t take more than 15 minutes, and with the doors remaining closed, your cold foods will stay cold.
Step 3: Vacuum The Condenser Coils
 Use the brush attachment or crevice tool on your vacuum cleaner hose. You can even find some vacuum attachments designed for refrigerator coils. If they are below the fridge, look under the door for a grate, gently remove it, and stick the vacuum cleaner attachment in there.
Control the vacuum firmly but with caution. You want to get as much grime off the coils as possible but not damage them. Take your time – don’t use too much nozzle force around this sensitive part of the fridge.
Step 4: Go Over The Coils With A Soft Brush & Vacuum The Debris
Use the brush to poke around all the nooks and crannies to get it as clean as you can. The coils don’t have to be clean as a whistle, but a good once-over should do well. After all this work, the floor around your fridge is probably a mess; clean it up before moving the appliance back into position.
Step 5: Move The Fridge Back
If your coils were on the back, plug the refrigerator back in and push it back into place. If they came off the bottom, replace the front plate.
Ta-da – you’re done! Like we mentioned earlier, it won’t take you longer than 15 minutes to do this work. Taking a simple half-hour out of your year to maintain this part will lengthen your fridge’s life and save you money!